a(nother) blog about baking. and food. and stuff.

Glaceed Oranges, pt 3

by b-town baker

They’re done!

They’re finally done!

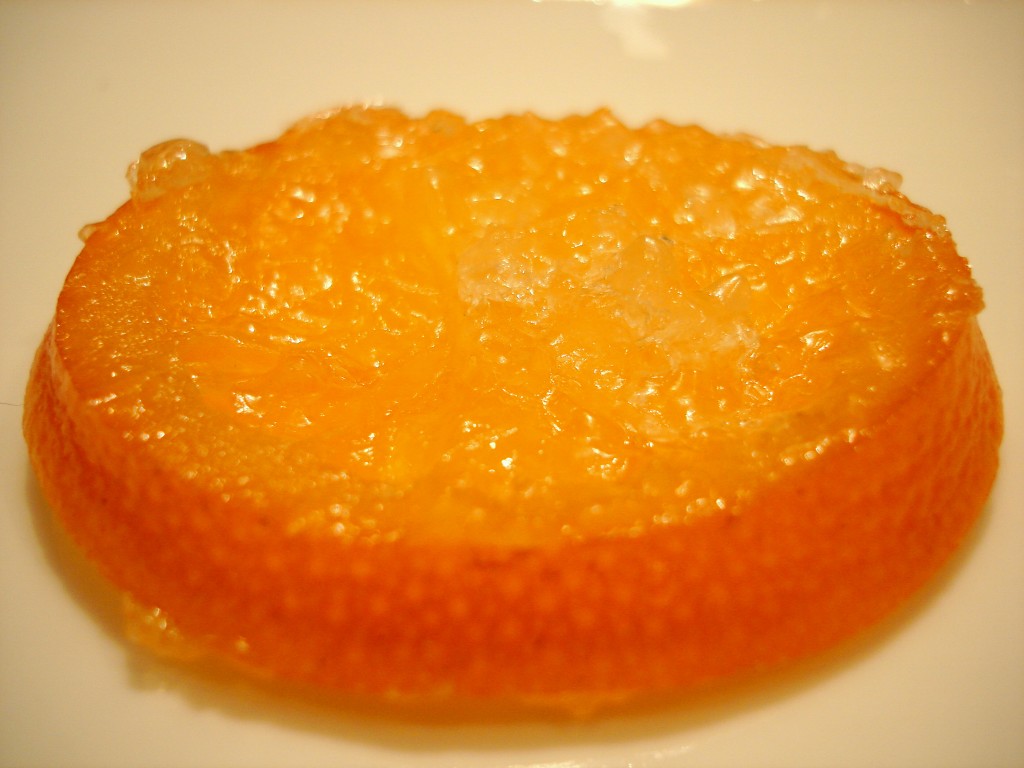
I am not a candy maker.  I’ve always said it, and now I know why.  These things were a challenge, and not in the way that I normally like.  You know why?  Science is hard.  Something about the ratio of sugar to water, or how I was supposed to heat the solution, for how long to what temperature…  somewhere I went horribly wrong, and the end result were little slivers of preserved oranges drowning beneath a crusty exterior of crystallized sugar.  Al sort of looked at them, looked at the originals from Bissinger’s, and said, “Well, they don’t quite look the same.”

I decided to try and save them from their armor of hard sugar crystals.  I put a pot of water on the stove to boil, kept adding heaps of sugar and dashes of vanilla extract, until I got the consistency up to a slightly-thick syrup at a nice boil.  I threw a few of the sugar-armadillo slices in to swim, and after a few minutes in the turbulence, fished them back out again.  Most of the sugar crystals were melted away, and (fingers crossed) I hoped most of the flavor wasn’t.

Back on their grates to dry out in the oven for a few hours (set at its lowest temperature, which on my oven turns out to be 170), and the end result was passable.  Al tried one and said it was much improved over its crunchy predecessor.  Success!

Sort of.

I’m competitive, and noticed he didn’t say they were as good as the candy shop version.

Maybe I’ll try again…


Glaceed Oranges, pt 2

by b-town baker

Day 13 of my glaceed orange project.

They might have turned alien.

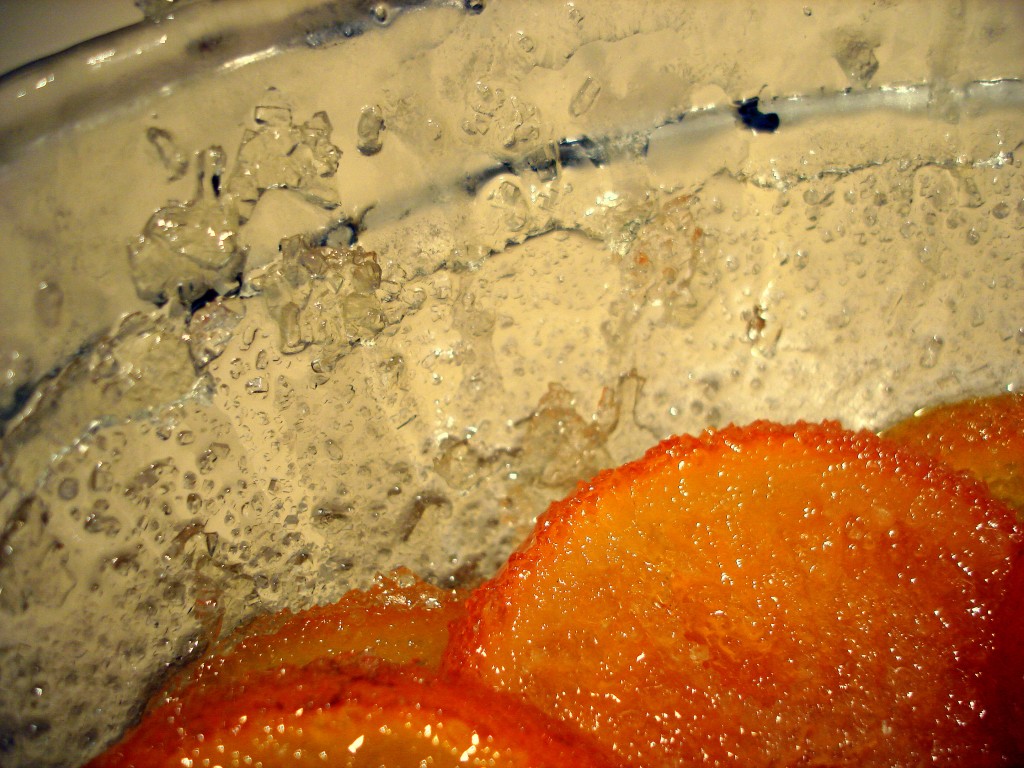
And by alien, I mean that they’re starting to crystallize, and since this is my first time applying the glace to the orange, so to speak, I have no idea if this is normal or not.  Take a look…


Technically these little beauties should be coming out of their sugar bath on Tuesday to spend a few hours in the dry sauna (read: oven on warm), but since Tuesday is Valentine’s Day and I’m otherwise engaged, they might have to continue swimming.


More on this bizarre and curious French candy making process soon….


Tuscaloosa Tollhouse Pie

by b-town baker

I have two very dear friends that are about to receive a surprise in the mail.  I won’t mention their names in case they read this post, but this treat is a LONG time in coming…

I’ve made this pie once before, and the result is a delicious cookie-in-a-pie creation that you slice and eat with a fork.  I think Al expected it to have the consistency of a pecan pie (which it doesn’t), so he was a little confused by it.  Don’t fall into this trap!  Just set your sights on an ooey-gooey, chocolate chip cookie trapped in the confines of buttery pie deliciousness.  (And speaking of the pie crust, I didn’t make my own – I used a store-bought, Marie Calendar’s.)

Tuscaloosa Tollhouse Pie, adapted from Baked
(my modifications noted in red)

1/2 recipe pie dough, chilled
1 store-bought pie crust, frozen
1/2 cup all-purpose flour
1/2 cup sugar
1/2 cup firmly packed brown sugar
2 eggs, room temperature
3/4 cup (1 1/2 sticks) unsalted butter, softened and cut into pieces
1 T whiskey
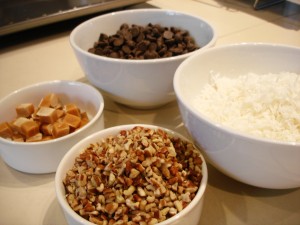
2 T whiskey
3/4 cup walnuts, toasted and chopped
3/4 cup pecans, toasted and chopped
1 1/4 cups chocolate chips
12 store-bought caramels, cubed into fourths
1 cup shredded sweetened coconut
2 T liquid glucose


Preheat oven to 350 degrees F.

In a bowl, whisk together flour and sugars; set aside.

Fit an electric mixer with its whisk attachment, and beat eggs on high speed until foamy, about 3 minutes. Switch to the paddle attachment, and mix in flour and sugars on low. Turn mixer to high and beat for 2 minutes; add butter and beat on high until combined.  Scrape down sides, add whiskey and glucose (added to keep the texture a bit softer and chewier – not a requirement), and beat on high for another minute, then fold in nuts, chocolate chips, coconut and caramels.

I doubled the amount of whiskey in the recipe because the first time I made this, none of the flavor came through. The alcohol bakes out, so my friends need not worry and can share it with their kids (a hint!).

Pour the filling into the frozen pie shell and spread it out evenly.  Top the filling with the remaining 1/2 cup chocolate chips.  (I added all of the chocolate chips to the batter rather than reserving some for the top – your preference.)  Bake in the center of the oven for 25 minutes, then cover the edges of the crust loosely with aluminum foil and bake for another 25 minutes (this will prevent the crust from browning too quickly.)
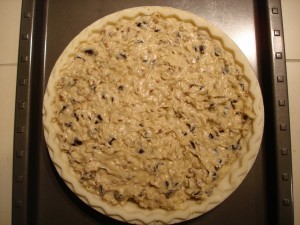
After 25 minutes the pie looked like this, so I put it in for another 15 without the crust protector.  I think my filling was so chock-full-o-goodness that it flowed over onto the edges more than normal, and made a natural protective layer.  No signs yet that the crust is anywhere near over-browning.
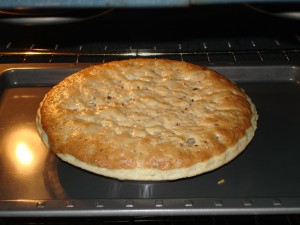
The next 15 minutes brought the edges to a nice, toasty brown, so I added the edge protector and left the pie for the last 10 minutes of baking.
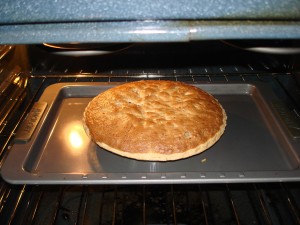
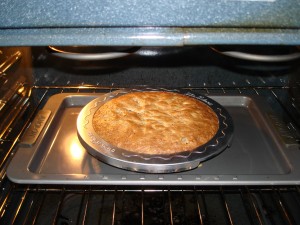
Test the pie by sticking a knife in the center of the filling.  If the knife comes out clean, the pie is done.  If the knife comes out with clumps of filling sticking to it, bake for another 5 minutes and test again.  Transfer to a wire rack and let cool before slicing.

The finished product – including a “homemade touch” of a divet where I speared a chunk of caramel when testing for doneness, and it came dragging out of the top of the pie.  I tucked it back to bed to continue melting.
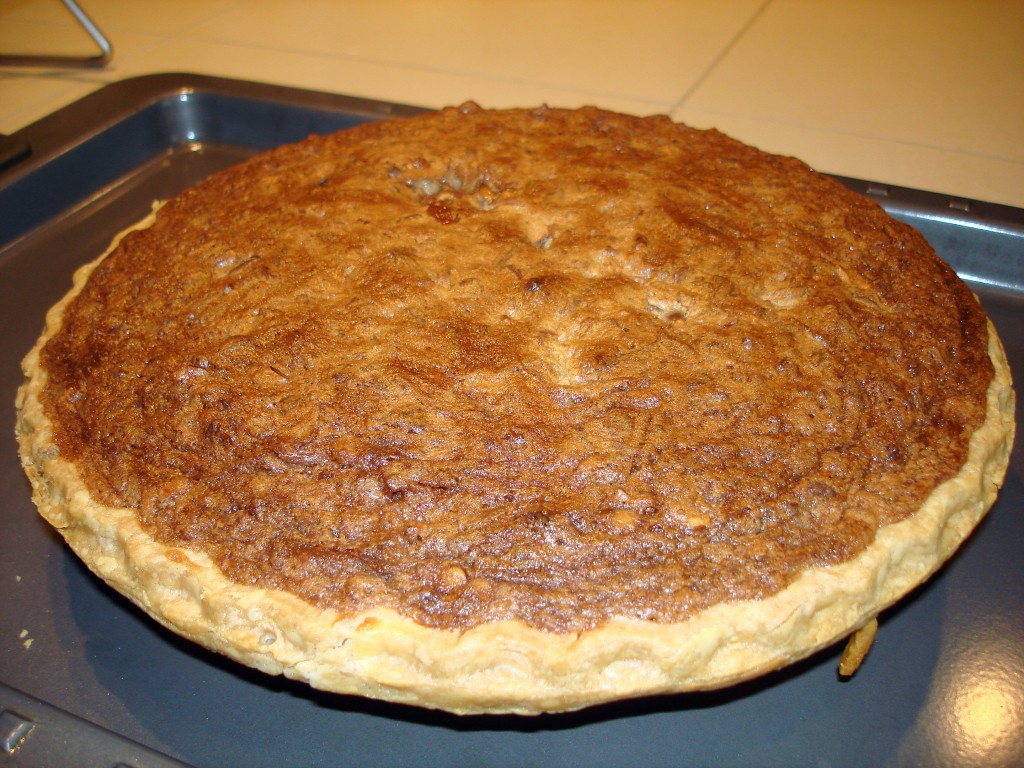
After the pie cooled completely, I put it in the freezer for a few hours to chill down, and then before going to bed I wrapped it tightly in many layers of plastic wrap, and put it back in the freezer to freeze solid overnight.  This will be my first time shipping a frozen confection, so fingers crossed (for me and MY friends) that it all goes well!


Glaceed Oranges, pt 1

by b-town baker

Not too long ago I bought a box of chocolate dipped oranges from www.bissingers.com.  Turns out that Al’s wild about them, but mentioned in passing that he thought they’d be better without the chocolate (what?!), and wondered how they were made.

Research!

Turns out it’s a process called glace, and it’s pretty time consuming if you do it the traditional way they do it in France.  Think of fruit preserving for months in a sugar solution, and then sealed away to age for a few years. (Julia Child has an interesting news clip on it from 1983.)  That just wouldn’t do for a self-gratification girl like me, though, so the research continued.  I did eventually stumble upon an Americanized recipe that shortens the time frame to two weeks (go us!), and decided to give it a go.

I actually started this process a little over a week ago, so I’m coming in on day 8 with the post.  The basics are this:  scrub some oranges, slice them in rounds, blanch, ice bath, pull out the seeds, and soak them overnight in a sugary water solution.  It’s a good idea to weigh them down so they’ll stay submerged in the syrup.  I managed this with an appetizer plate and a coffee mug:

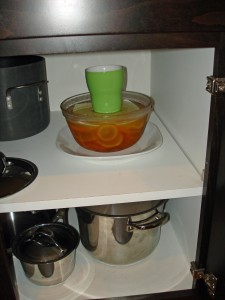
Every day after that, drain the syrup off in a saucepan, add 100g of sugar, bring it to a boil, and then pour it back over the slices.  The recipe recommends keeping them in a cool, dark place, so mine sleep in this cupboard cave next to the pots & pans:

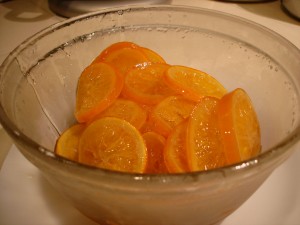
Now, 8 days later, the oranges have started to take on a gorgeous shine, and they syrup continues to get thicker and thicker, slowly approaching the consistency of honey.  Check out the shine…

Can’t wait to see what they look like at the end of the full two weeks.  I might even let them go a bit longer, so I can do the “drying in the oven” process on a weekend when I’ll have plenty of time to keep an eye on them.  Full recipe that I used is below.  Enjoy!

Candy Slices Recipe, adapted from Brownie Points

Fruit Prep:

  • Clean three oranges (I used six) by scrubbing under warm water.
  • Slice into thin rounds. This candying method worked on all thickness of slices I tried up to 1/4 inch thick.
  • The slices can be kept as circles, or cut into halves or quarters (hemi-circles and quarter-circles).

Blanching:

  • Bring a pot of salted water to a boil.
  • Have a bowl of ice water nearby.
  • Add the sliced oranges to the boiling water (may need to be done in batches depending on the size of your pot). Scoop from the boiling water when the slices float to the top and place into ice water to cool.
  • When cool, drain and remove the slices from the ice water and transfer to a container large enough to hold all of the slices.

Candying:

  • Bring to a boil: 1 kg of sugar and 600 g of water. This step is to just dissolve the sugar (not to cook the syrup).
  • Pour the hot syrup over the orange slices. If the orange slices float, weigh them down to keep them fully submerged. Weighing down method I used the first week: placed a plate on top of the orange slices and a glass jar of water on top of the plate.
  • Store the submerged orange slices in a dark cool place, like a cupboard or closet for the duration of the candying. I didn’t refrigerate them.
  • Each day increase the sugar content of the orange slice sugar solution. Do this by draining off the sugar solution the slices are submerged in, add 100g of sugar, heat the solution to just dissolve the sugar, and pour back over the orange slices.
  • Complete this increase-sugar step daily for two weeks.
  • Notes
    • I didn’t follow the schedule as written: I skipped a couple days of the increase-sugar schedule, and just resumed the increase-sugar step when I was able to. My impression is that this recipe is not very picky about increasing the sugar each day. I think the variable of time is important though- don’t try to shorten the duration of this recipe.
    • Storage: the orange slices may be stored in the sugar solution indefinitely. No need to refrigerate, they can be stored in a cool dark place, like a cupboard.
    • At the end of the soaking period, remove the fruit from the syrup and arrange it on a wire rack over a tray.  Dry in the oven at the lowest setting until the surface no longer feels sticky.
    • If you haven’t done enough work by this point, you can also plunge each piece of fruit into boiling water for an instant and roll it in granulated sugar to coat the surface.

Here we are.

by b-town baker

I had, for a short time, an online cupcake store.

It came about much like many efforts, with a lot of support and encouragement from friends.  Friends who thought selling my cupcakes was the next obvious step.  What none of us realized, though, is how hard it is to work a 40 hour work week, go home and bake all night, get up early to deliver the results of that baking, and then do it all over again.

I got burnt out, and quick.  Not only on the business aspect, but on cupcakes in general.

So what we have now is “bling cakes 2.0”, so to speak.  I’m still an avid baker (sometimes cook), I love to share the results, and what better place to capture a record of them all than here.

Here we go…


Scrappy Theme by Caroline Moore | Copyright 2024 bling cakes 2.0 | Powered by WordPress